
0115 684 8754
Are you ready to transform your outdoor space with stunning porcelain paving? But unsure on the best way to install it?
For a hassle-free installation, we suggest hiring one of our approved installers to lay your porcelain paving slabs. This ensures a professional finish, since specialist tools and a compact, level bed are required for the longevity of your paving.
If you have the necessary specialist tools and experience with similar projects, we offer a detailed guide, along with a list of essential tools needed to complete the job.
But, even if you won’t be doing the work yourself, it’s always handy to know the steps that need to be taken to get the best out of your porcelain paving installation.

Porcelain is special because it looks pristine with minimal effort! It is hard-wearing and scratch resistant; low maintenance and easy-to-clean; resistant to damp, stains and mould and is UV-resistant with a minimum R11 slip rating for safety.
But the key to all of these wonderful benefits is getting the installation right. That is why the best way to lay your porcelain paving is with a professional! Here’s a run down of the steps that should be followed to ensure your paving is installed correctly:

We advise planning your pattern before laying to avoid any mistakes. Porcelain paving slabs can be arranged in various patterns to create different effects, including staggered, random, linear and brick bond layouts.
If you're looking for something more complex, our Kandla project pack is perfect for creating unique compositions.
Porcelain slabs over 750mm may have a slight bow, ranging from none to a few millimetres, due to the natural drying process. If you have these larger slabs, we recommend opting for a linear laying pattern, as this will minimise the effect of the bow

Premjoint, Fuga, and Flowpoint Fine are the 3 grout types that we recommend you choose from. We have a blog that outlines the difference between these so you can make an informed decision over which will suit your project the best.
You will also want to choose your grout colour beforehand. This will depend on the style of porcelain paving you choose, and whether you want to colour match or make a bold contrasting statement. If you’re stuck, our blog will help you choose the right grout colour for your project.

Porcelain slabs are durable once laid, but they can be fragile beforehand.
Once your slabs arrive, you will need to keep them on the pallet until your installer is ready to lay them.
Always use 2 people to move a slab, and if you do need to move them from the pallet, make sure you place them on a flat surface, stacked carefully to avoid chipping.
If you've hired a professional to lay your porcelain you won’t need to worry about these next steps - in fact, we advise you to put your feet up and relax whilst they do the hard work! However, if you’re interested in what happens next, here is the break down:

Can I lay porcelain paving on concrete? This is a great question, and the answer is dependent on the condition of your concrete. To make an assessment on whether your concrete is in good enough condition to lay porcelain over, you need to firstly ensure it’s not already falling to pieces with age, and secondly that it is a minimum thickness of 100mm (you can determine its thickness by drilling a bore hole into the surface, to see if it’s over 100mm). If you are unsure, it’s always good to get a second opinion from a professional.
What surface is best to lay porcelain paving on? The most ideal surface is hardcore and mortar (sand and cement mixed in a 4:1 ratio).


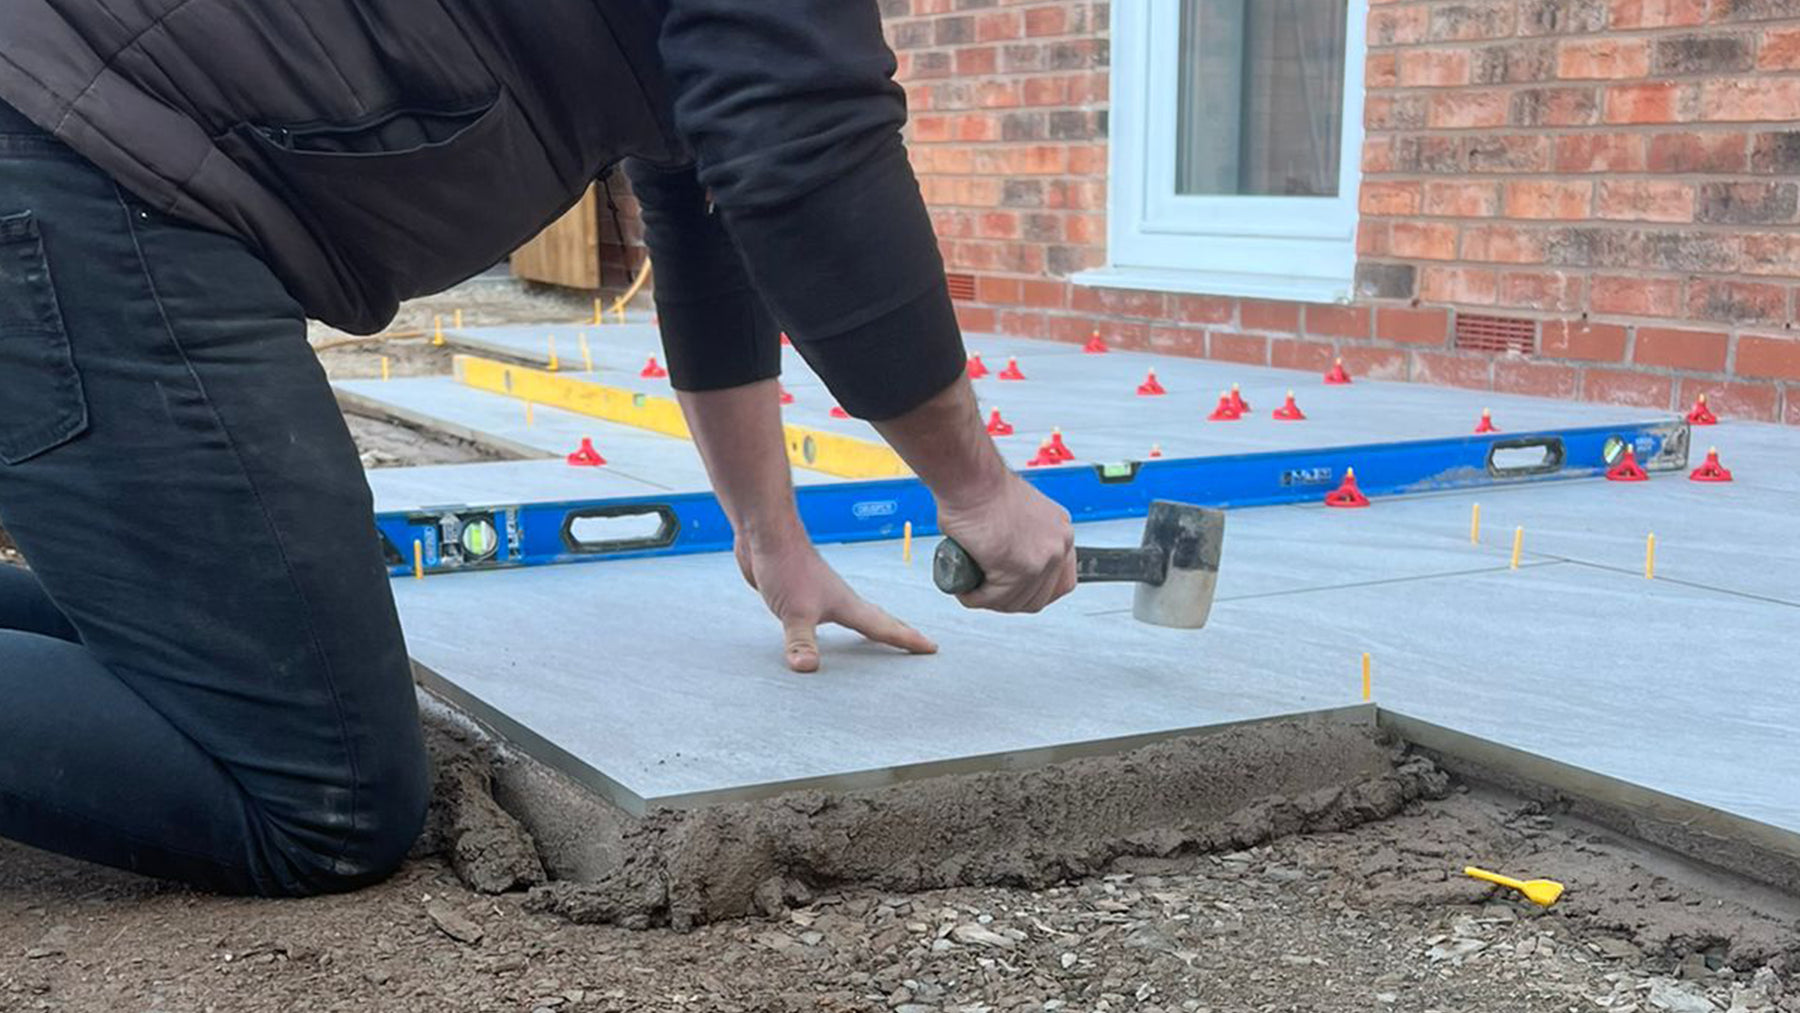
What is a levelling kit? A levelling kit will ensure that your porcelain paving slabs are installed level and evenly. We recommend using a Raimondi VITA Landscaper Levelling Kit, available from our store.


It’s important to note that this blog is just a brief outline on how to lay porcelain paving. For a more in-depth explanation we have a ‘really easy guide to your new paving’ (and it’s completely free).
However, even with the guide being free for everyone, we still strongly advise you to get a pro in - this will guarantee the longevity of your porcelain slabs (plus it rewards you with more relaxation time!)
If you need a list of approved installers near your area, or have any questions you still need answering, feel free to drop us a message!
{"one"=>"Select 2 or 3 items to compare", "other"=>"{{ count }} of 3 items selected"}